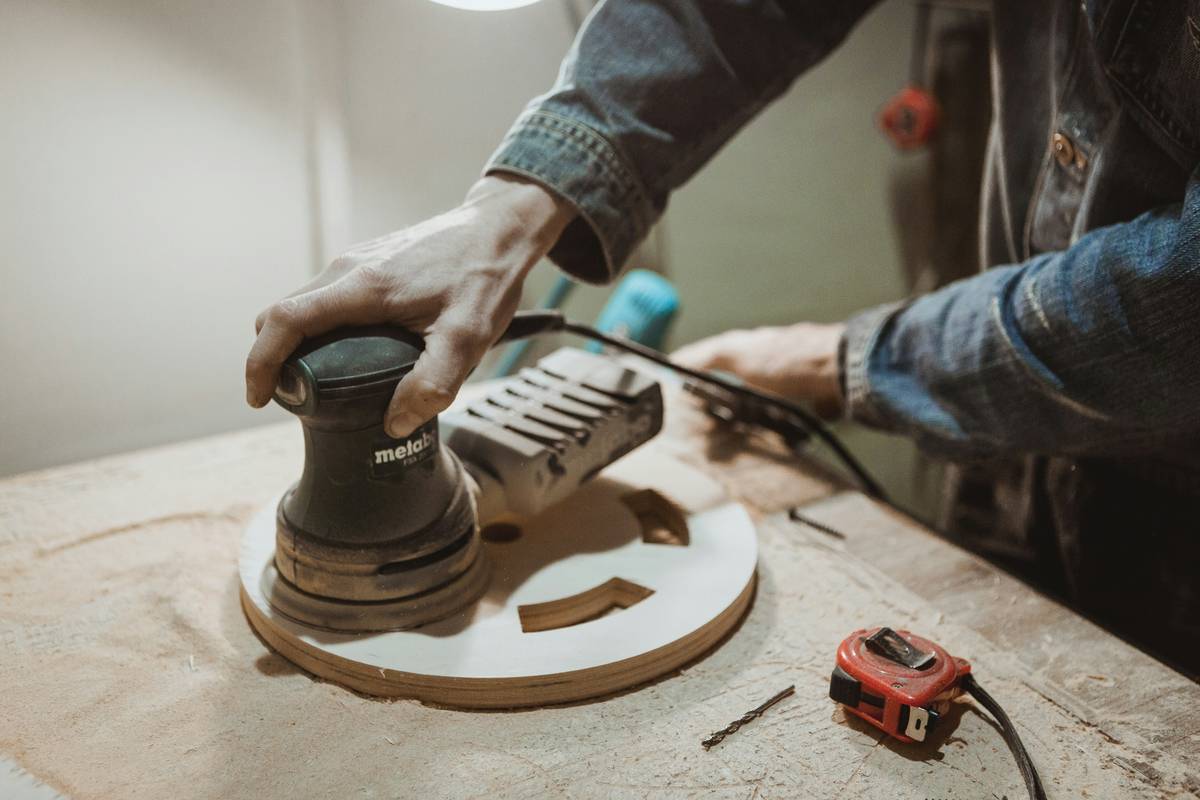
Ever ruined a perfect wooden table because your abrasive disc chewed through the finish like a hungry beaver? You’re not alone. Many DIYers underestimate how critical the right disc choice and technique are—especially when sanding from coarse to fine grits during a home project. In this guide, we’ll walk you through everything you need to know about diy project abrasive disc sanding from rough stock to silky-smooth surfaces, based on real workshop experience and industry best practices. By the end, you’ll avoid costly errors and achieve professional results without hiring a pro.
Table of Contents
- Why Your Choice of Abrasive Discs Makes or Breaks DIY Projects
- Step-by-Step Guide to Effective Sanding with Abrasive Discs
- 5 Best Practices for Flawless Sanding Results
- Real-World Examples: Before, During, and After
- Frequently Asked Questions
Key Takeaways
- Match disc type (e.g., zirconia, aluminum oxide) to your material—wood, metal, or composite.
- Always progress through grits; skipping steps causes scratches that are hard to fix.
- Use consistent pressure and motion; erratic handling leads to uneven surfaces.
- Inspect discs before use—worn or clogged discs reduce efficiency and increase heat buildup.
- Your safety gear isn’t optional: wear eye protection, gloves, and a respirator.
Why Your Choice of Abrasive Discs Makes or Breaks DIY Projects
In the world of diy project abrasive disc sanding from raw lumber to finished cabinets, the wrong disc can turn hours of craftsmanship into firewood. I once sanded a reclaimed oak door using a worn-out 80-grit disc meant for metal—not wood. The result? Deep swirl marks and a surface so hot it started smoking. Lesson learned: abrasive composition matters.
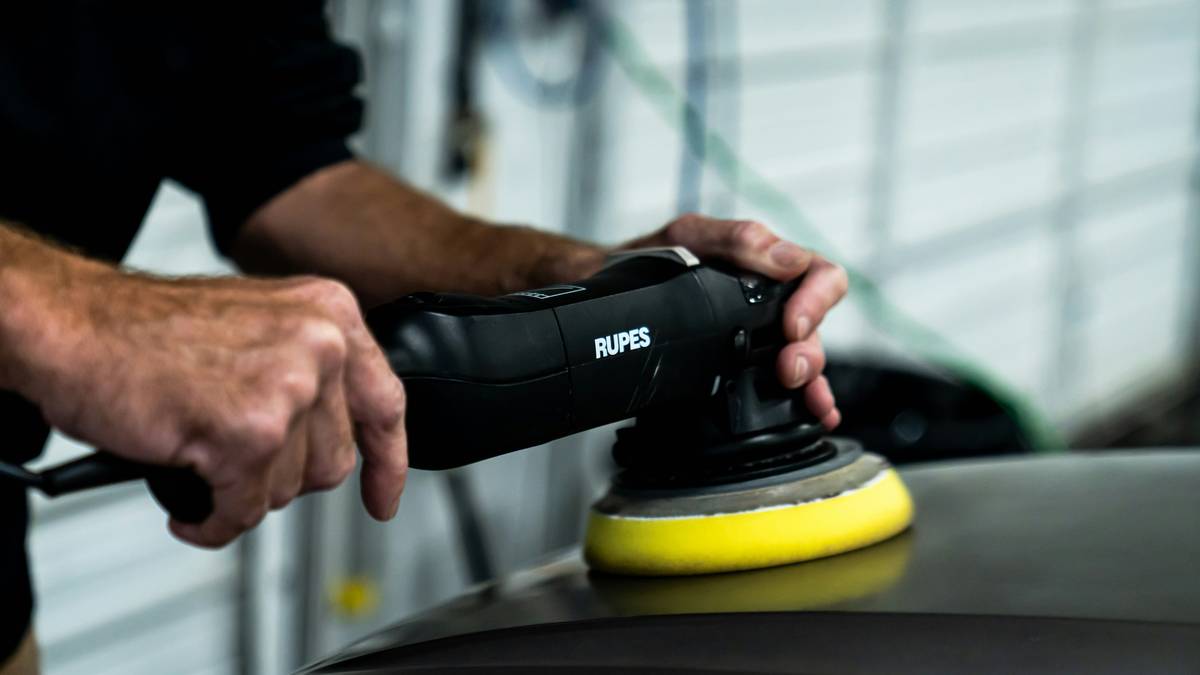
Abrasive discs aren’t one-size-fits-all. According to the Occupational Safety and Health Administration (OSHA), improper tool use is a leading cause of workshop injuries—and poor surface prep ranks high in DIY regrets. Whether you’re restoring furniture or prepping metal for paint, selecting the correct disc type (aluminum oxide for wood, ceramic for metal, etc.) directly impacts finish quality and tool longevity.
Step-by-Step Guide to Effective Sanding with Abrasive Discs
1. Assess Your Material
Determine if you’re working with softwood, hardwood, metal, or plastic. Each demands a specific abrasive. For example, zirconia alumina excels on steel, while silicon carbide works better on non-ferrous metals and composites.
2. Choose the Right Grit Sequence
Start coarse (e.g., 60–80 grit) to remove imperfections, then move to medium (120–150), and finish with fine (180–220+). Never jump from 60 to 220—that’s like trying to go from hiking boots to ballet slippers in one step.
3. Mount the Disc Securely
Ensure your angle grinder or sander is unplugged. Check that the disc is seated flat and tightened per manufacturer specs. A loose disc can shatter at high RPMs—a terrifying and dangerous failure.
4. Sand with Intention
Use slow, even passes in the direction of the grain (for wood). Apply light, consistent pressure. Let the disc do the work; forcing it only generates excess heat and wears out the abrasive faster.
5. Clean and Inspect
After each grit stage, wipe the surface with a tack cloth. Examine under bright light for lingering scratches. If visible, repeat the current grit before advancing.
5 Best Practices for Flawless Sanding Results
- Don’t reuse worn discs: Once the abrasive grains dull or clog, performance plummets. Replace them—it’s cheaper than redoing your project.
- Keep your tool clean: Dust buildup in the backing pad reduces suction and balance, causing vibration and uneven sanding.
- Work in a ventilated area: Sanding creates fine particulates. The EPA recommends using local exhaust ventilation or wearing an N95 respirator (EPA guidelines).
- Store discs properly: Keep them in a dry, flat container away from moisture—they degrade faster in humidity.
- Never skip safety gear: Eye protection, hearing protection, and gloves aren’t “optional extras”—they’re non-negotiables. Learn more about our commitment to safety on our About Us page.
Real-World Examples: Before, During, and After
Last summer, a client asked me to refinish a set of pine dining chairs. Initial surface had deep gouges and old varnish. We began with 60-grit aluminum oxide discs on an orbital sander, removing old finish in 20 minutes. Progressing through 100, 150, and finally 220 grit over two hours yielded a buttery-smooth base ready for stain. No tear-out, no swirls—just clean, even texture.
Contrast that with a neighbor who used a single 120-grit disc on a steel handrail, skipping coarser grits. The surface looked “okay” under shop lights—but sunlight revealed stubborn mill scale and pitting. He ended up stripping it all and starting over. Moral? Patience with grit progression saves time in the long run.
Frequently Asked Questions
What’s the best abrasive disc for hardwood floors?
For large surfaces like floors, use maroon or blue resin-bonded discs with aluminum oxide grit (60–100 for removal, 120+ for finishing). Always follow grain direction to avoid cross-sanding marks.
Can I use metal abrasive discs on wood?
No. Metal discs often have steeper angles and harder bonds that tear wood fibers. Stick to wood-specific abrasives for clean cuts and smooth finishes.
How often should I replace my abrasive disc?
Replace when cutting/sanding slows noticeably, the disc glazes over, or you see exposed backing. There’s no fixed timeline—it depends on material hardness and pressure applied.
Is wet sanding better for some DIY projects?
Yes—for metal polishing or final auto body work, wet sanding with water-resistant (usually black) silicon carbide discs reduces dust and prevents loading. But never wet-sand wood; it raises grain and causes warping.
Where can I buy quality abrasive discs?
We source industrial-grade discs engineered for consistency and durability. Have questions about specs or applications? Reach out via our Contact Us page. And rest assured—your data is protected under our Privacy Policy.
Does “diy project abrasive disc sanding from” apply to small crafts too?
Absolutely! Whether you’re smoothing a birdhouse or prepping a metal keychain, the principles remain the same: right disc, right grit sequence, right technique.
Mastering diy project abrasive disc sanding from rough beginnings to refined finishes isn’t about fancy tools—it’s about method, mindfulness, and learning from every grain. Ready to elevate your next build? Contact us for expert advice on selecting the perfect abrasive for your vision.
Sand smart, not hard—because the smoothest finish starts with the sharpest choices.